Coating your harp·E
General guidelines for customizing your DIY package
introduction
We’re thrilled that you’re taking your Harp·E to the next level with a custom finish! Whether you’ve chosen the DIY Uncoated package to start from scratch or the DIY Coated package for some creative customization, this guide is here to help you achieve great results while avoiding common pitfalls.
Working with wood can be deeply rewarding—but it also requires care, patience, and the right tools. Below, you’ll find helpful tips and step-by-step advice straight from our workshop to set you up for success.
⚠️ DISCLAIMER: Harp·E provides these guidelines as general advice only. Harp·E is not liable for any personal injury, damage to the instrument, or unsatisfactory results caused by DIY handling or customization. Any modifications are not covered under our warranty, but we’re happy to assist with self-repair whenever possible. Please proceed with care and enjoy the process!
DIY UNCOATED
This kit comes with raw wood, so you’ll be handling the sanding, coating, and customization yourself. Uncoated wood gives you total control over how it looks and feels, allowing endless creative possibilities. We only recommend this package for experienced woodworkers.
ㅤㅤㅤㅤㅤㅤㅤㅤㅤㅤㅤㅤㅤㅤ👉👉 Skip to Tips for Success for important tips you need to know before coating your harp.
IMPORTANT: Before beginning, we recommend practicing on a similar piece of beech plywood to get comfortable with sanding, coating, and finishing techniques. This allows you to try out your ideas risk-free and ensure you’re confident with the process before working on your harp.
Do not assemble your harp without these steps. Leaving the harp uncoated exposes it to the elements, prevents optimal functionality, and drastically shortens its lifespan.
Here's how to get started:
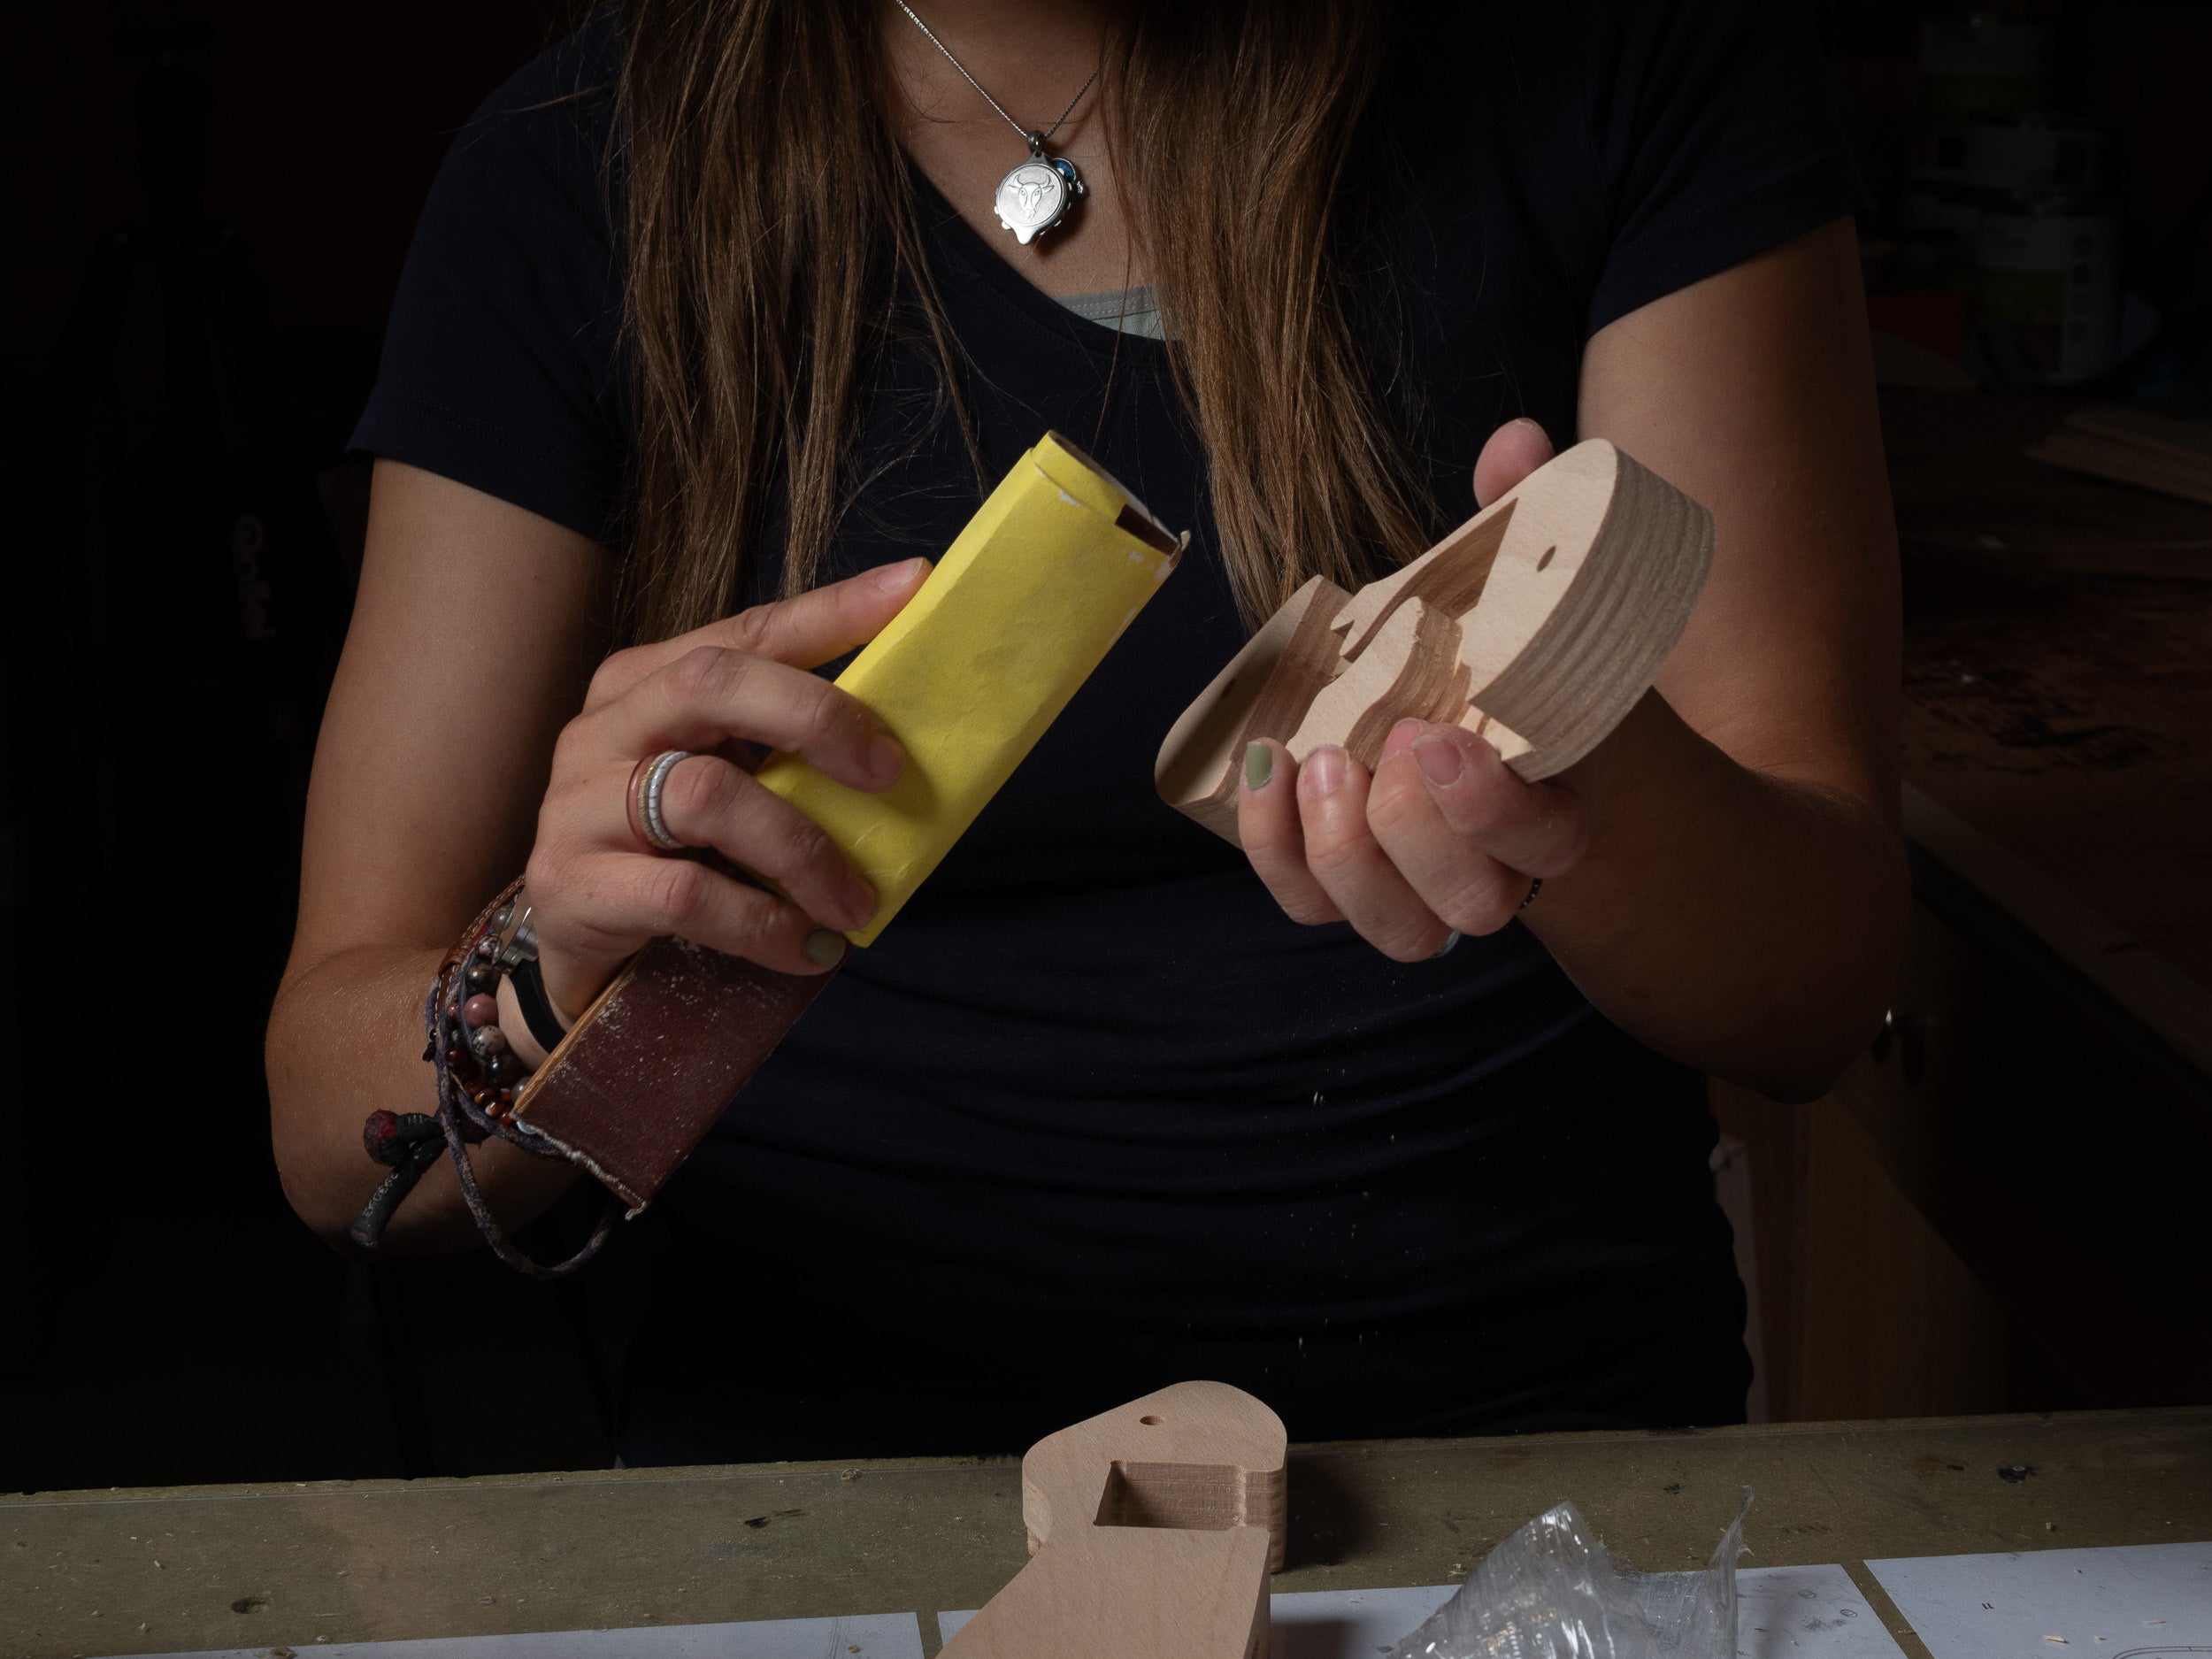
1) Sanding
Sand all wooden parts by hand to your desired level of smoothness.
• Recommended grit range: 180–320
• Always sand with the grain of the wood.
• Pay special attention to edges and corners for a clean finish.
2) CLEANING
After sanding, use a tack cloth to remove all residual dust. This step is critical to ensure your finish adheres properly.
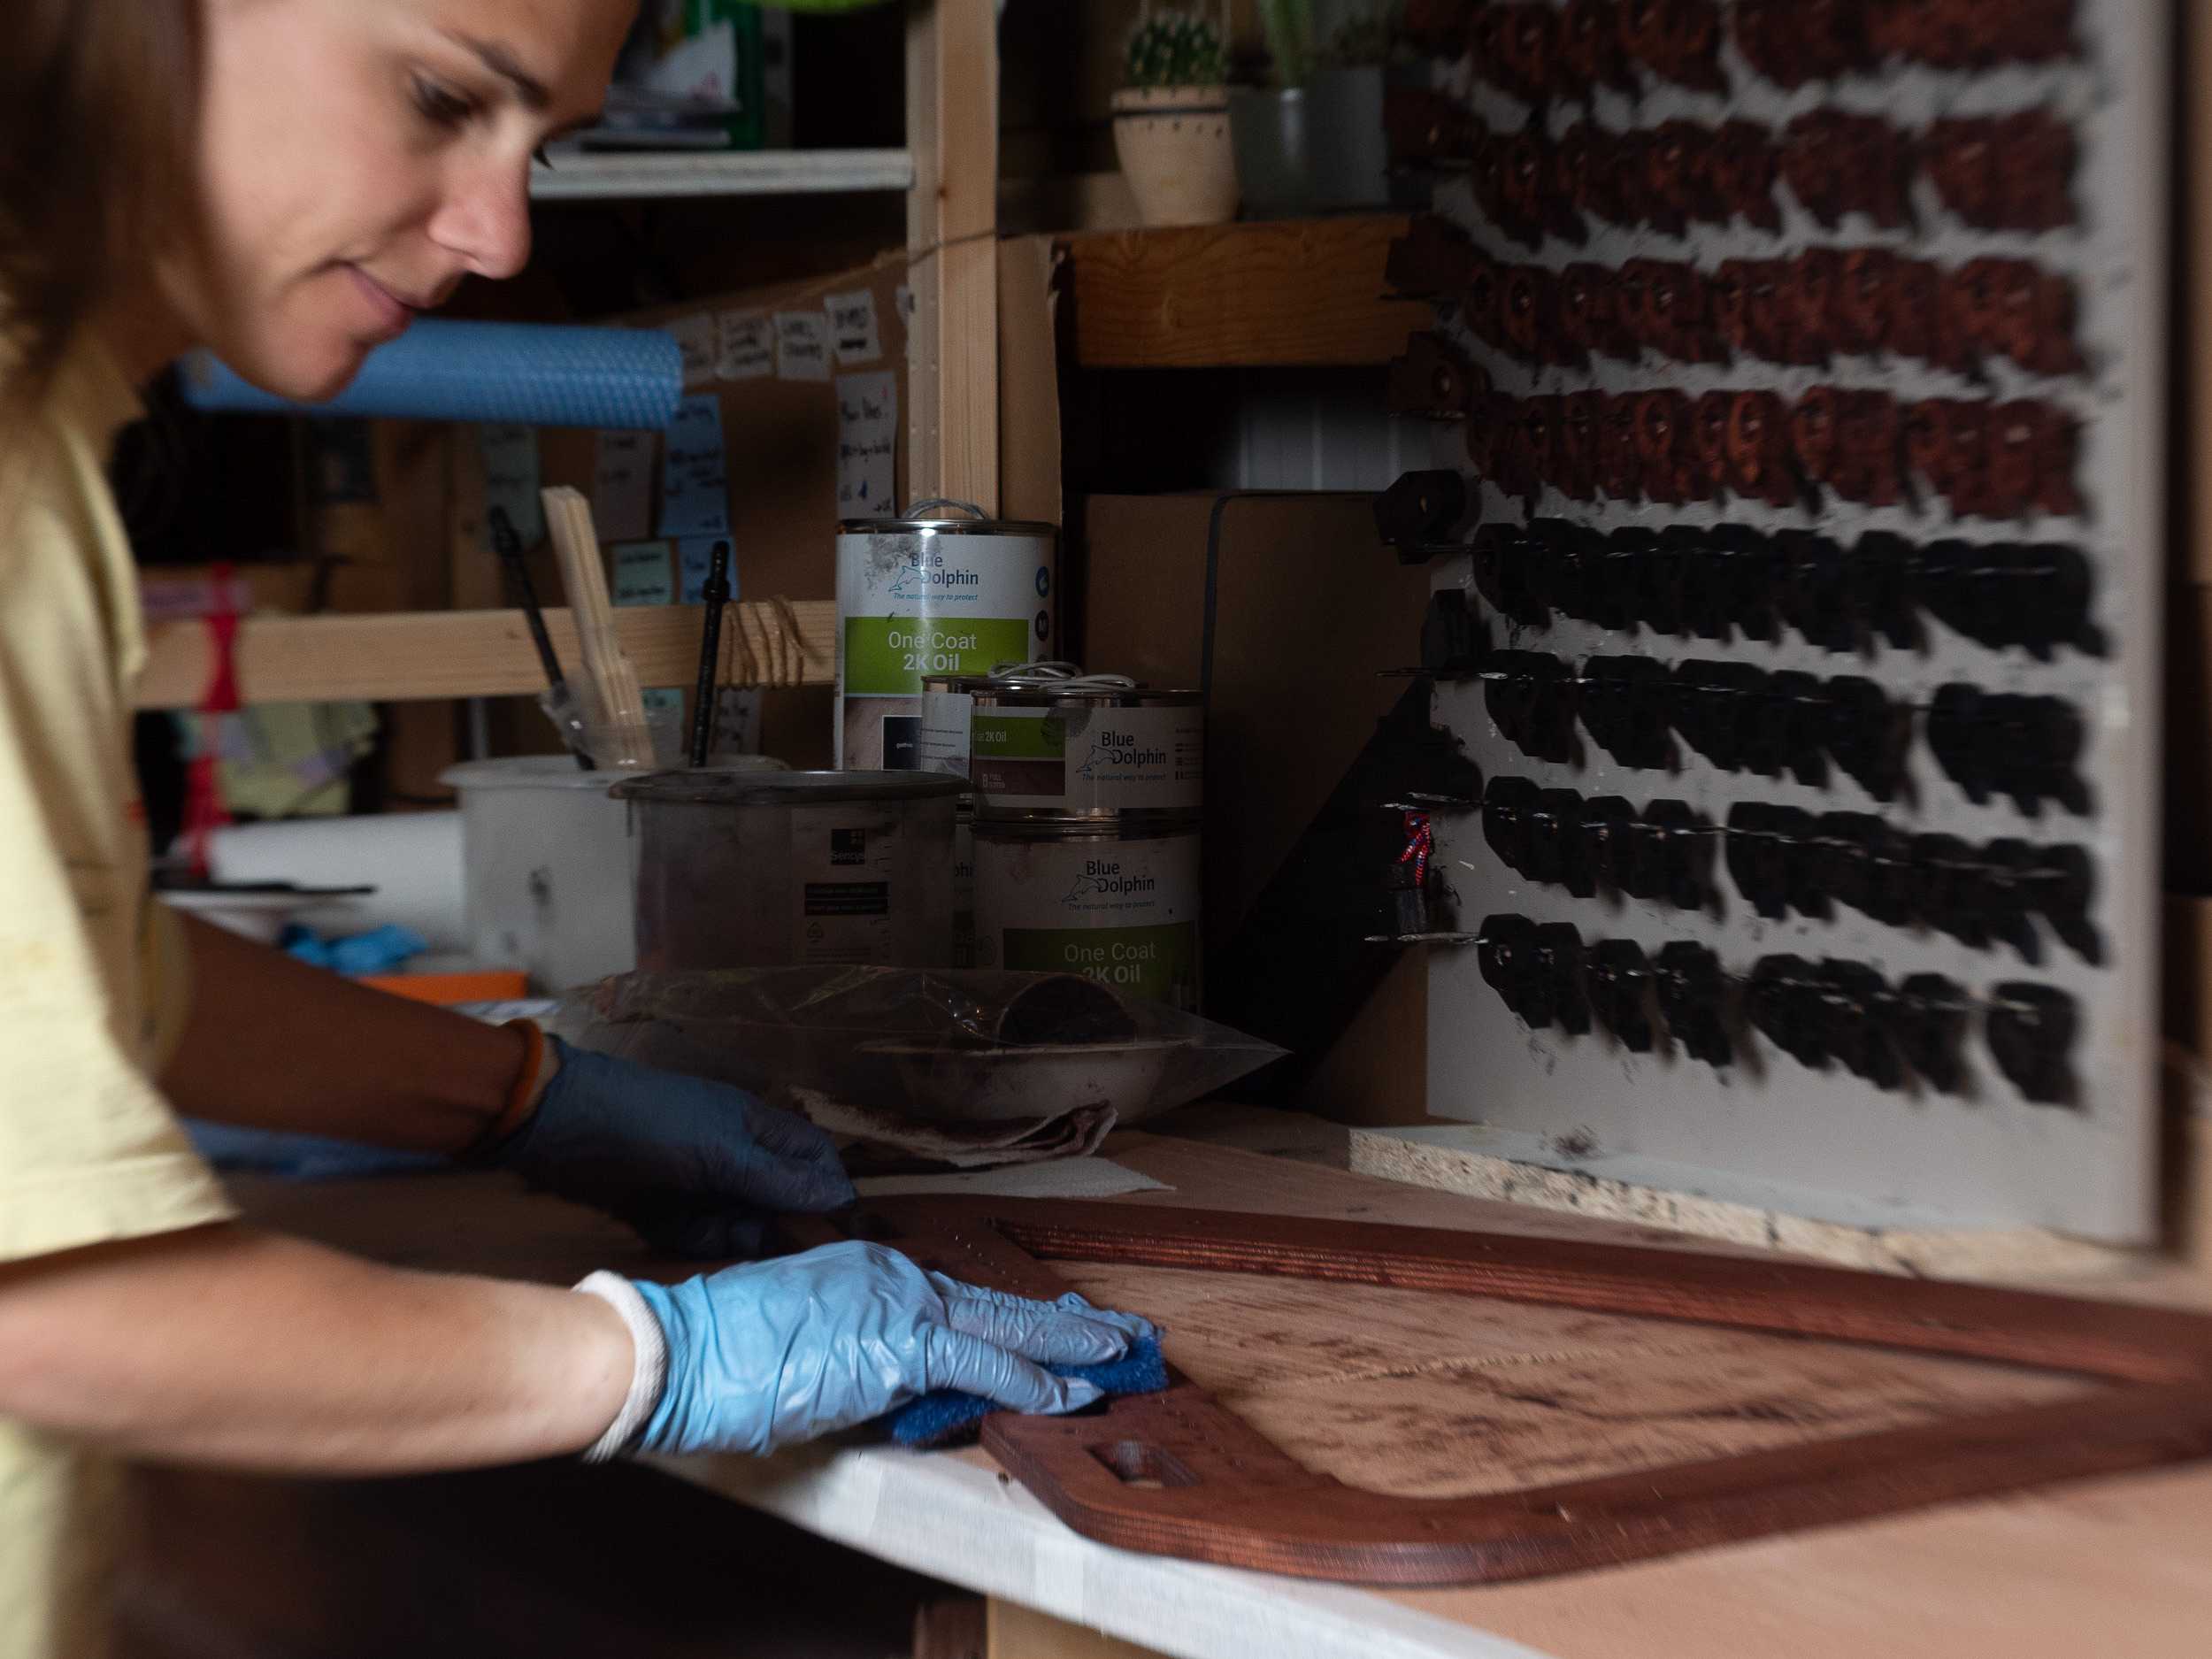
3) COATING - INITIAL LAYER
For your first layer, our experts recommend applying an oil-based wood coating from a top-tier brand. This provides essential protection from the elements, enhances the wood grain, and ensures you have a harp that will last a lifetime.
Follow the application method specified by the manufacturer.
4) COATING - FINAL LAYER
Follow up with a high-quality hardwax oil wood finish. This adds durability and a smooth, matte or satin sheen depending on your product. This is especially of importance on the levers to ensure smooth functionality.
We do not recommend exceeding two coats, unless the product manufacturer advises otherwise.
DIY COATED
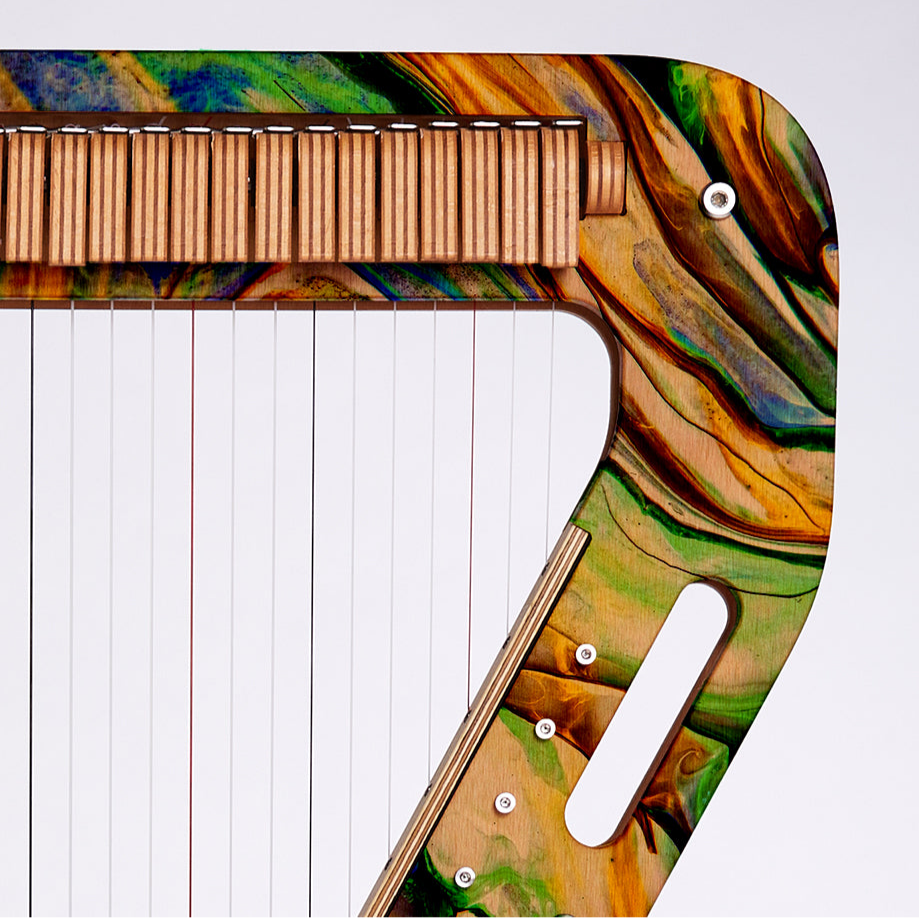
Our standard harp colors (natural, mahogany, black wash, and white wash) already come sanded and coated with a high-quality 2k wood oil. They are made to be assembled as-is, but if you would like to customize it with your own paint, keep the following in mind:
- Choose a compatible product. Make sure your paint or finish can adhere to 2K wood oil.
- Test before you commit. Try the product first on a hidden area, such as the inside of the frame. Review the manual to identify which side of each frame faces inward.
- Sand if needed. If you plan to coat the entire harp, we recommend sanding first to improve adhesion.
- Do not coat the levers. Adding extra layers may affect their functionality.
Scroll down for some essential tips before starting.
TIPS FOR SUCCESS
Before doing anything - research, research, research.
There are countless resources online for coating wood, especially musical instruments. YouTube is full of step-by-step guides, and experienced staff at local art supply stores can also offer advice tailored to your needs.
Some of the most helpful videos and articles we've found come from independent electric guitar makers who use oil-based finishes. Many of these makers walk you through their process in detail and even share the specific products they use — we highly recommend watching these tutorials.
Once ready to start, Keep the following in mind:
- Choose paints or finishes specifically designed for wood.
- Take extreme care with the levers — excess coating may obstruct movement or damage the mechanism.
- Avoid getting paint inside assembly holes and lever mechanisms.
- Apply thin, even layers. The surface should look smooth with no drip marks.
- Let each layer dry fully before adding another.
- If a layer feels rough or uneven, sand it lightly with a soft, high-grit sandpaper.
- If coating the entire harp, coat both sides to prevent warping.
- When in doubt, do fewer, thinner layers.
FAQ
Can I use acrylic or water-based paint?
Yes, but acrylic paints have less wood absorption than oil based paints, this means that in the long term your harp will be more exposed to scratches or cracks. At the same time acrylic paints allow much more customization, ask around your local Harp-E community for tips and ideas, and remember to keep the levers smooth and functional.
If using water-based paints, use as little water as possible. Too much may ruin the wood.
Can I paint the metal parts?
We advise against painting metal parts – it will affect the functionality of the components and the paint may not adhere well, leading to cracks over time.
I completely messed up a part - what do i do?
In alignment with our mission of increasing harp accessibility, we believe in the importance of allowing customers to repair and replace individual parts. For that reason, you can contact us at support@harpeharp.zohodesk.eu to request spares for purchase of any part of the harp.
My levers are too stiff after painting, what can i do?
If it wasn't done prior to assembly, we highly recommend taking out the levers and adding a layer of hardwax oil wood finish. This has been proven to restore functionality on previously stiff levers.
To remove the levers, you have to loosen all the strings and take them out. Due to this, have a spare string set handy as it is very likely to lose some strings in the process.
Sand the levers with a low grit (between 80-120) for the wax to be absorbed.
If your levers are still too stiff afterwards, we recommend starting over with a new set coated by us. Reach out to our support team at support@harpeharp.zohodesk.eu to request a new set of levers in any of our standard colors.
Are there any paints, chemicals, or solvents to avoid?
Certain solvents can chemically attack and break down the rubber inside the rings of the levers, leading to a complete loss of integrity.
Solvents to avoid: Toluene, Xylene, Benzene, Acetone, Methyl Ethyl Ketone, Methylene Chloride, Trichloroethylene (TCE) / Perchloroethylene (PERC), Ethyl Acetate / Butyl Acetate, Strong Acids, Petroleum-based Oils and Fuels (Paint vehicles often contain these).
This list is non-exhaustive. At our studio, we are focused on making the harps in our signature way; we do not have the bandwidth to pursue experiments with all types of paints and chemicals to know exactly every product that is safe and unsafe for the instrument. Coating your harp is always at your own risk and we highly urge doing your own research. Please contact us if anything strange happens as a result of a paint experiment so we can inform others.
I have another question!
The complicated part of endless creative possibilities is that we won't always have the answer to your specific question regarding coating. We encourage you to do as much of your own research as possible before taking on this project.
If you have any more questions or doubts specific to coating a Harp·E, please don't hesitate to reach out to our support line at support@harpeharp.zohodesk.eu for further assistance.